|
|
|
|
|
|
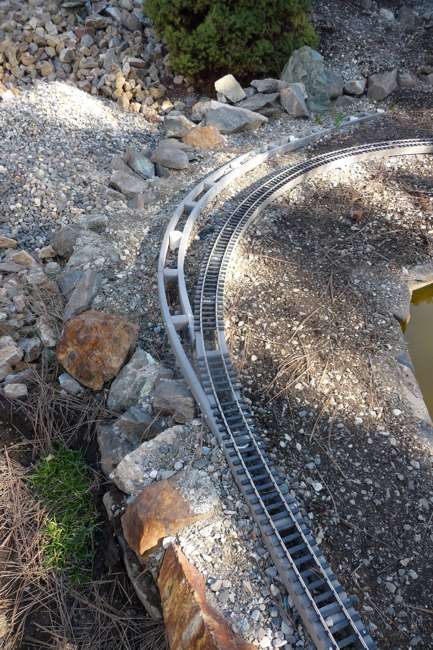
A custom fitted curved turnout
|
|
|
|
|
|
|
|
|
|
|
|
|
|
|
|
Adjustments to track plans happen regularly and even more frequently in the garden. The plan called for a conventional RH turnout, but as the roadbed went in it became obvious that a curved turnout would “flow” much nicer.
|
|
|
|
|
|
|
|
|
|
|
|
|
|
|
|
|
|
|
|
|
|
|
|
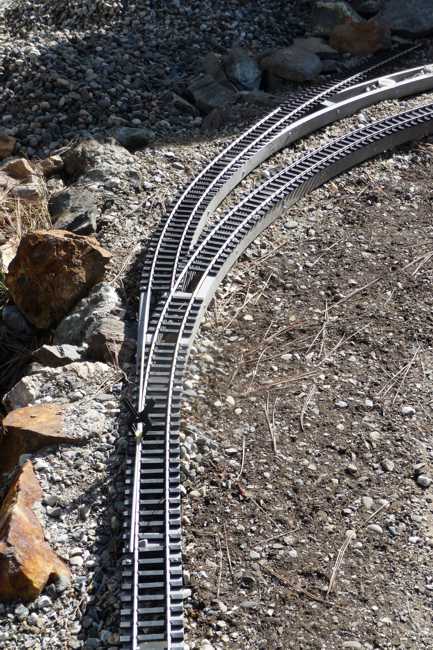
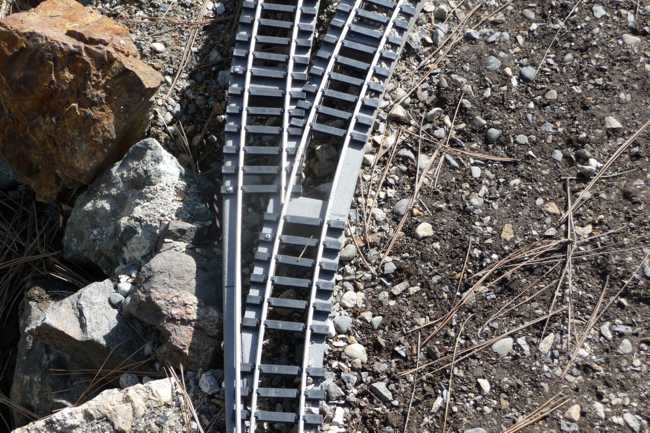
To make the process as easy and convenient as possible the first step was temporarily installing a piece of flextrack with the one profile extending farther forward to blend into the existing track.
|
|
|
|
|
|
|
|
|
|
|
|
|
|
|
|
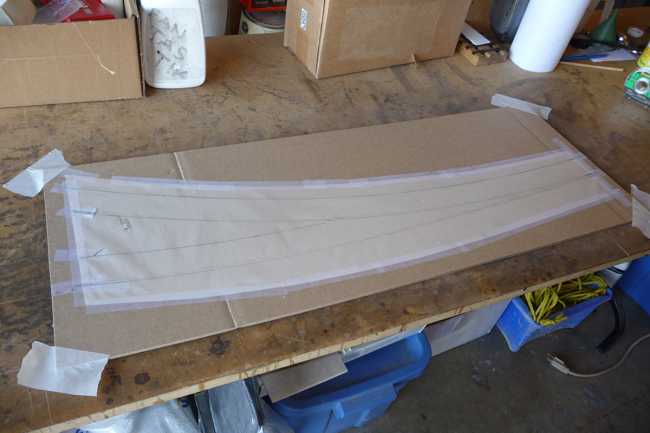
Next came a large sheet of paper, carefully fastened with transparent tape, so that the inner edges of the tracks could be traced.
|
|
|
|
|
|
|
|
|
|
|
|
|
|
|
|
Trim the sheet of paper and attach to a piece of corrugated cardboard, with an additional piece of cardboard to make sure that there would be enough clearance for the spikes to clear.
|
|
|
|
|
|
|
|
|
|
|
|
|
|
|
|
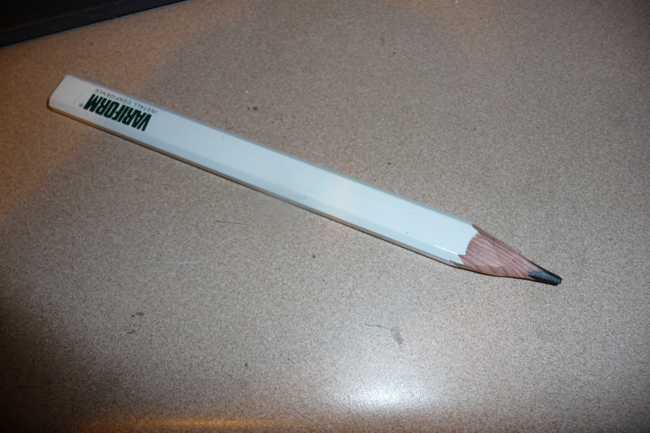
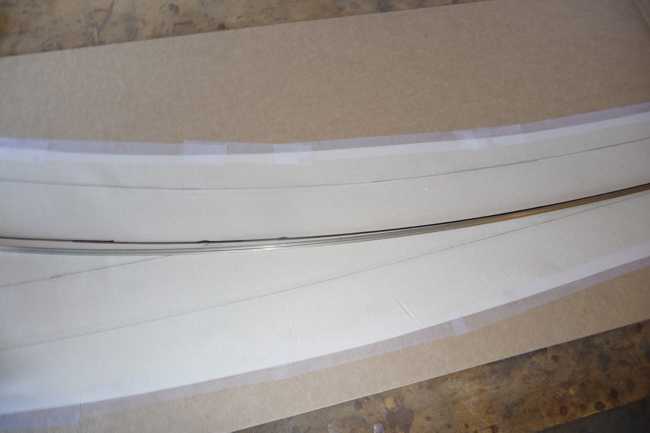
Then it was time to re-trace the tracklines with a felt pen using a piece of rail as a flexible ruler.
|
|
|
|
|
|
|
|
|
|
|
|
|
|
|
|
|
|
|
|
|
|
|
|
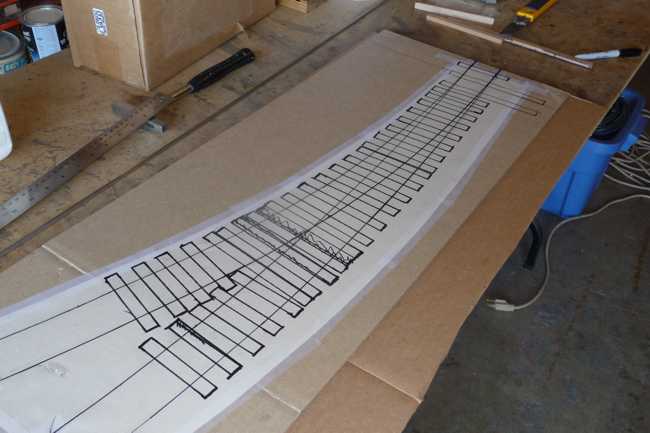
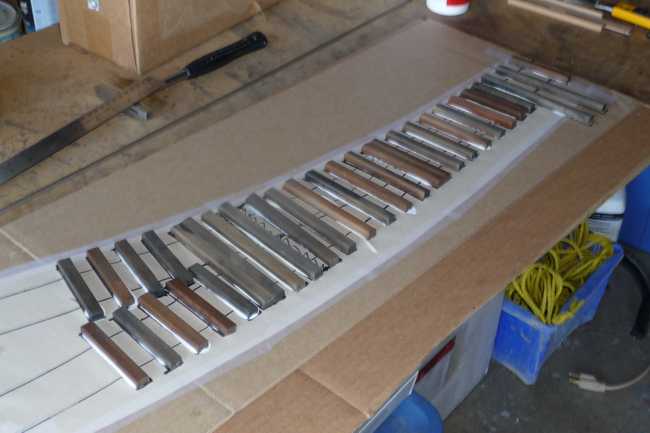
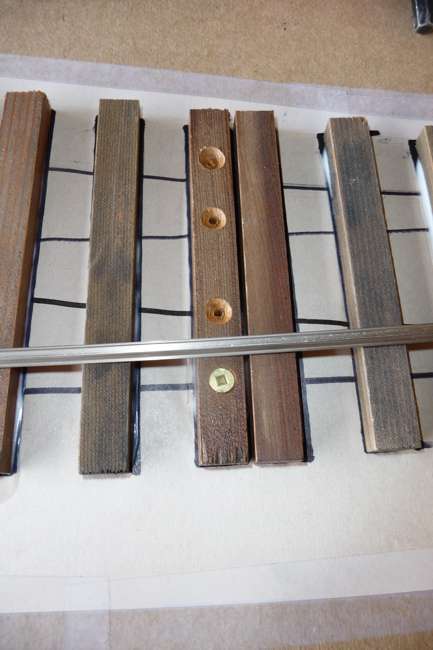
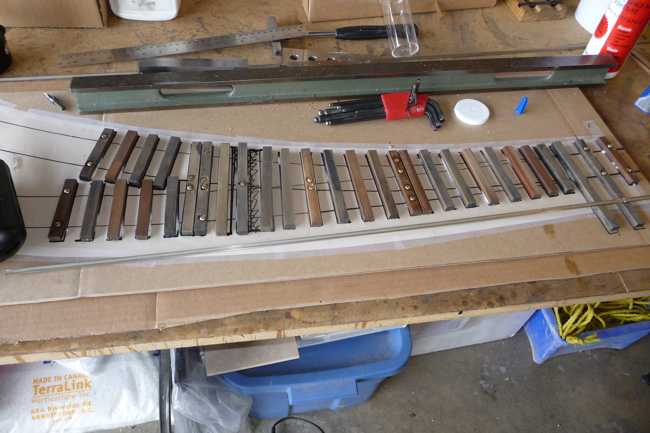
Marking the positions of the different ties and setting them in place - with plenty of adhesive - was the next step.
|
|
|
|
|
|
|
|
|
|
|
|
|
|
|
|
|
|
|
|
|
|
|
|
Anchor screws are used at various important location and the screw threads are secured with some GEL-CA. Once the screws are set the heads are tinned with solder.
|
|
|
|
|
|
|
|
|
|
|
Next page
|
|
|
|
|
|