|
|
|
|
|
|
The Basic Questions
|
|
|
|
|
|
|
|
|
|
|
Those were: conventional DC track power, battery powered R/C or DCC? The choice was DCC.
|
|
|
For the simple reason that DCC offers many more possibilities together with the fact — if one chooses the appropriate system — that one can power and control anything from N scale to Large Scale. Of course with the same features and refinements. While one admittedly needs not as many fancy features in the garden this also reduces the complexity which one can observe on large indoor layouts with automatic control.
|
|
|
The start was made with a ZIMO MX1 system — after a lot of comparison and research. First testing ground was our display layout that we take to shows and which features automatic operation closely simulating what happens on the prototype. Naturally the possibility of instant switching to manual operation of any given train at any time was a “must have”..
|
|
|
|
|
|
|
|
|
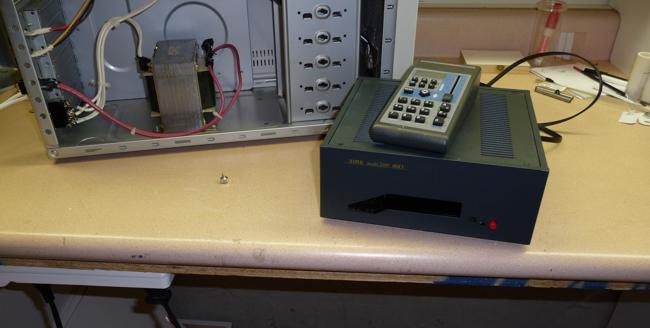
Zimo central unit and MX21 Handheld
|
|
|
|
|
|
|
|
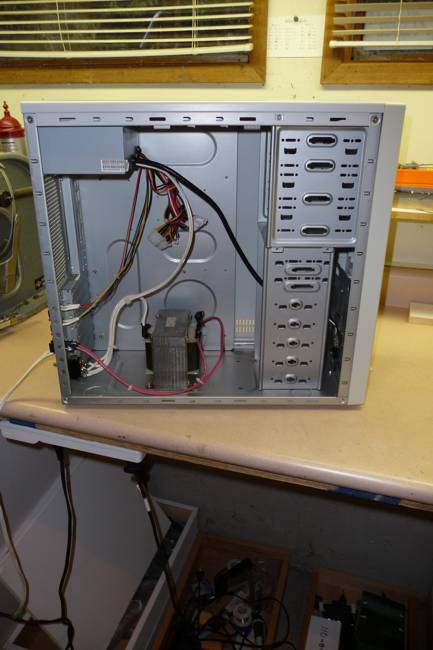
Power supply for ZIMO and aux. controls
|
|
|
|
|
|
|

|
Choice of voltages
|
|
|
|
|
|
|
To house the different power supplies I chose a handy computer case complete with the switching power supply. “Handy” on account of having just two thumb screws to remove the covers instead of the customary six Phillips screws. The computer PS delivers 12VDC @ 8A and 5VDC @ 20A. The MX1 is fed by a conventional AC transformer that delivers 24VAC @ 10A. The MX1 has built in voltage stabilisation.
|
|
|
|
|
|
|
|
How does one control wnat on the model railway in the garden?
|
|
|
|
|
|
|
|
DCC offers almost unlimited features which are constantly being expanded. How many of those features one uses depends largely on the type of operation one prefers. Hands on, like on the prototype with very little or no remote/automatic control; automatic control where the trains keep on running according to some sequence or other; a mixture of the two. Usually that has more of an effect on the freight operations than the passenger operation. Actual switching happens according to the needs of the shipping and receiving parties along the line. Possibly even according to the customs of the modelled era.
|
|
|
The hands on operation in the garden will more than likely require some radio control. Be it R/C battery, conventional DC with R/C or DCC with R/C.
|
|
|
hat leaves the block control or lack there of as in “black territory” and train orders. On our layout we’ll follow the prototype practice of block control — eventually with CTC — and signalling of the mainline, with the turnouts for the passing siding being motorized and allelse being thrown by hand. To get those functions will require implemeting “Railcom” to keep the wiring effort to the bare minimum.
|
|
|
It also required planning access to the handthrown turnouts without climbing all over the layout.
|
|
|
|
|
|
|
|
Control panels
|
|
|
|
|
|
|
|
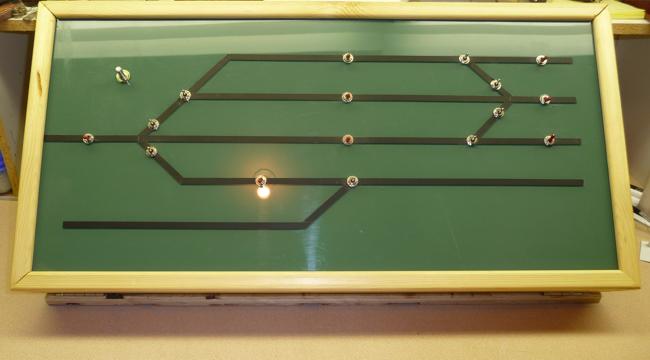
Keeping it simple means as few as possible. The plans are for two; one for staging and a second one for the CTC.
|
|
|
|
|
|
|
|
|
|
|
|
|
|
Staging panel in the construction phase.
|
|
|
|
|
|
|
|
|
|
Wiring
|
|
|
|
|
|
|
|
|
I firmly believe in hefty wiring, regardless of scale, which in Large Scale means AWG12 for the DCC bus, AWG12 for the DC bus Running out of capacity can be a real problem and the source of additional expense and work; best avoided by planning ahead.
|
|
|
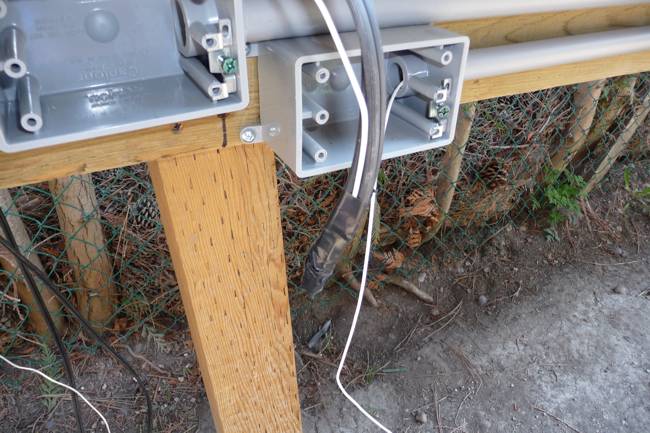
The CAN-Bus and other control circuits use the usual communication cables. Since the first section of the layout is elevated all the wiring is run in PVC pipes and terminals are housed in PVC boxes.
|
|
|
|
|
|
|
|
|
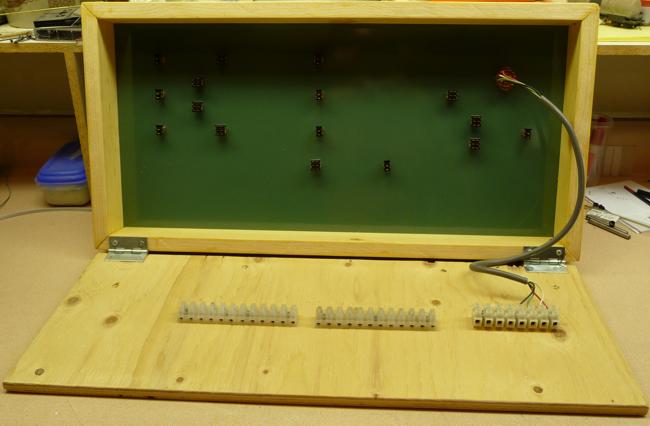
Terminal box
|
|
|
|
|
|
|
|
Branching the wires at “Preda” station.
|
|
|
|
|
|
|
|
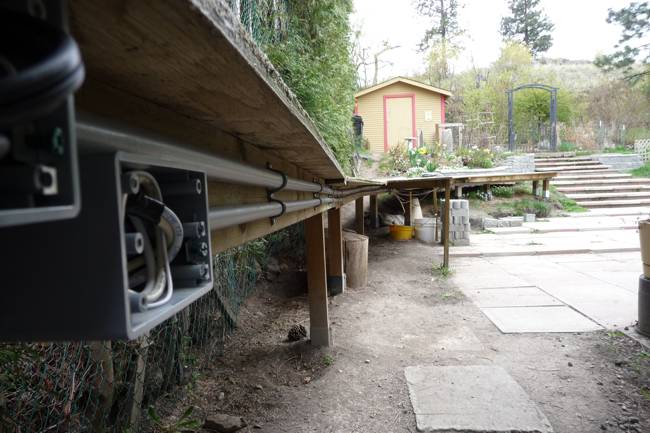
Protected cabling
|
|
|
|
|
|
|
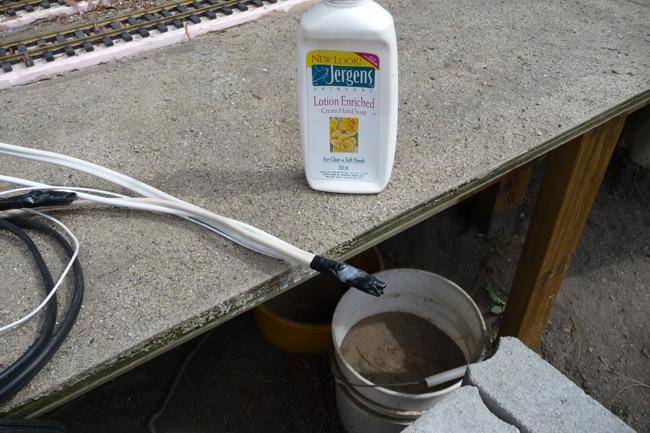
A bit of liquid soap made pulling the cables easier. A spare wire was added to be used if there ever was a need to run additional cables.
|
|
|
|
|
|
|
|
|
Liquid soap helps
|
|
|
|
|
|